Introduction
Once the setup up process is complete, you will have a basic structure in place for managing new Cemetery records in Scribe. The Cemetery menu details all your Burial, Exclusive, Memorial, and Empty Plot records entered on Scribe. New records can also be added from this screen.
If an exclusive right record for the deceased already exists, it's important to follow the instructions for Adding an Additional Record to ensure that all relevant records are properly linked.
How To Add A New Burial Record
To add a new Burial record, navigate to Burials in the main menu.
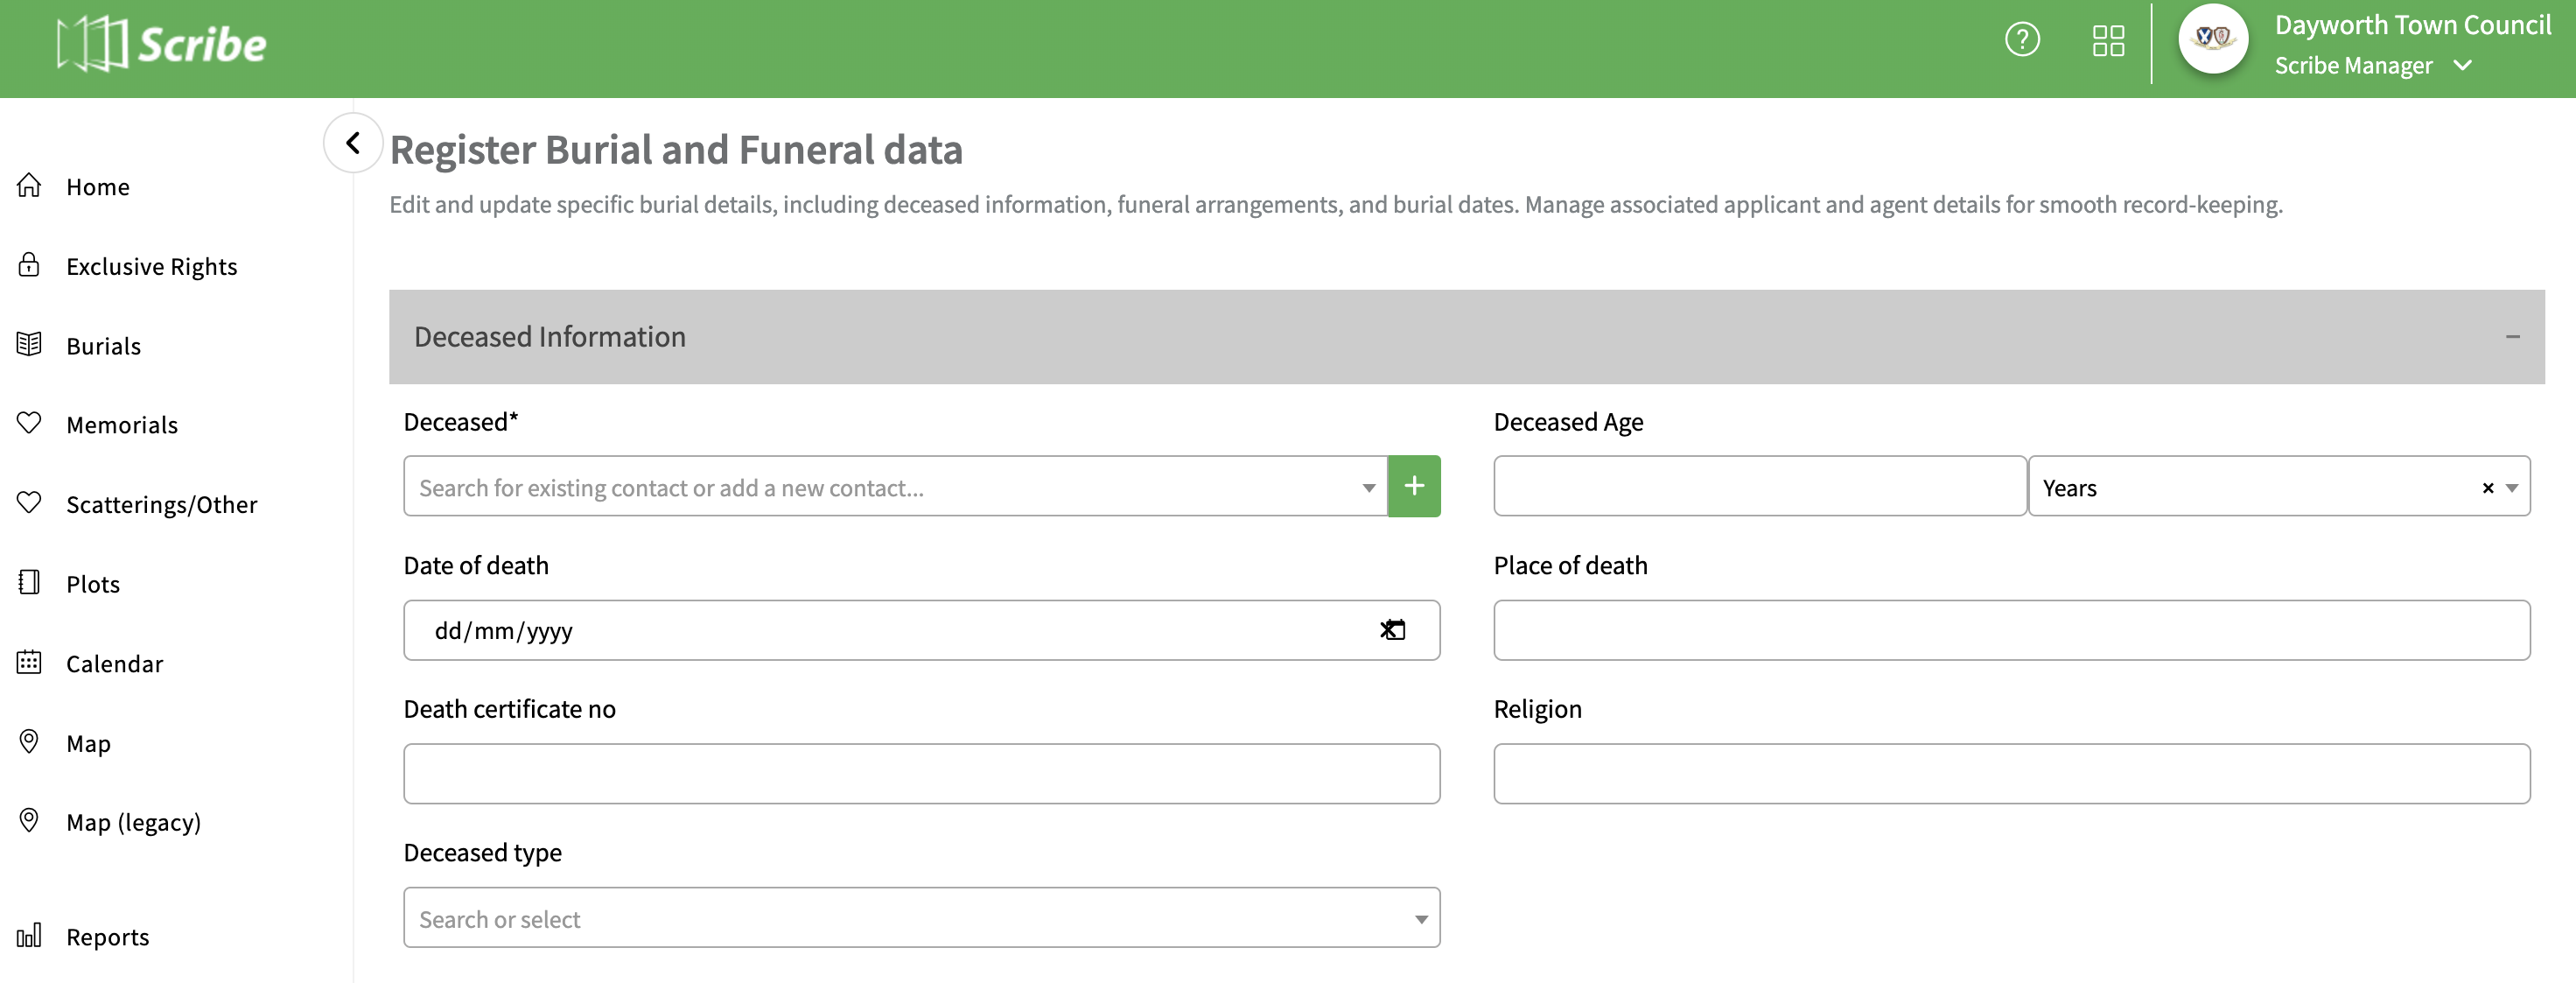
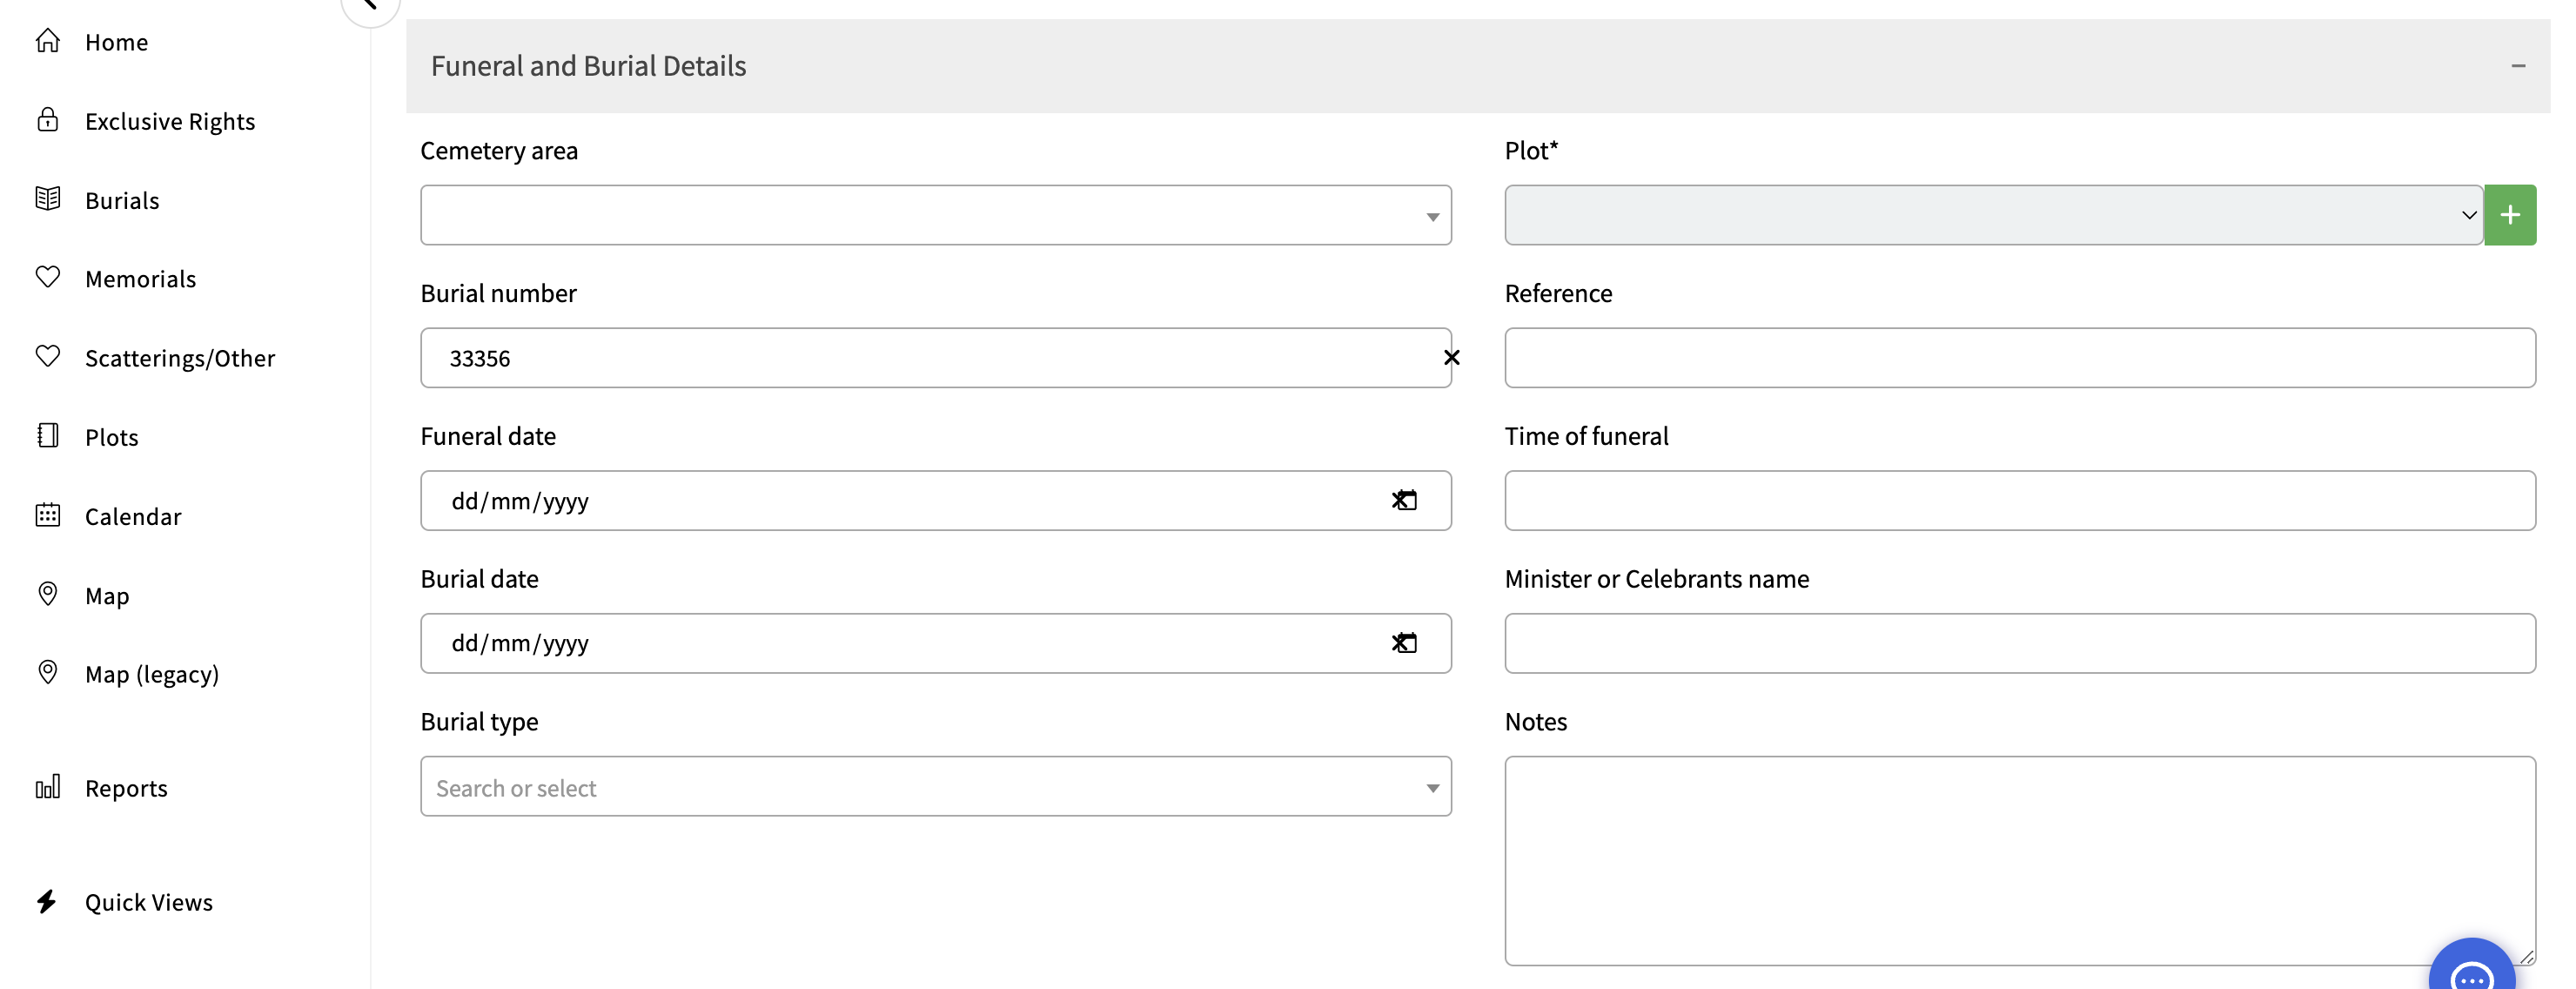
All records added to Scribe Cemetery will be displayed here. Click on + (or Add new record from the quick action menu) and complete the form with the required information. Some parts are mandatory to comply with Cemetery regulations. When completed, click on Add.
If you need to add a new contact for the deceased, simply enter the name and select Create new contact or click on the + symbol at the end of the deceased name field. You will then have the option to enter further details (age, address). Once the record has been saved, this contact will be added to, and can be viewed, under the CRM menu option.


Important Information for Register Entry
To ensure accurate register entry, follow these guidelines:
- Select the Cemetery Area and a unique Grave number within it.
- Include the name, address, and age of the deceased.
- Enter the date of burial, type of burial, and deceased status.
- Specify the agent (funeral director or invoice recipient) by adding a new agent in the New Agent field, if necessary.
- Provide additional details of the funeral, such as time, minister, religion, and date and place of death if known.
- Include information about the burial and grave, including size and depth, remaining depth, number buried, remaining capacity, and whether any further burials are possible in the grave if known.
- Select the applicable fee(s) from your fee tariff (multiple selections can be made).
- Enter the applicant details (next of kin).
Best Practices When Adding A Burial Record
Consider the following best practices for managing cemetery records effectively:
- The size of the grave should represent the excavation size, not the coffin size. The depth should be measured to the base of the excavation to avoid errors.
- Utilise all available grave options. For example, even if remaining capacity and number buried indicate no further coffins can be buried, remaining depth may show availability for cremated remains.
- Record detailed information to facilitate future reviews of cemetery usage.
- Add a payment status to reflect if the relevant fee has been paid
- Link relevant documents and upload necessary files.
Additional Options
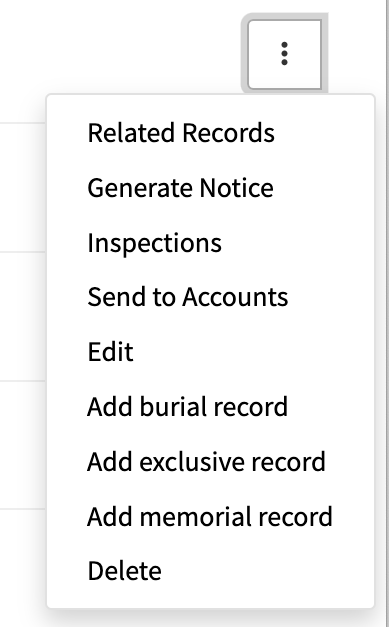
From the main burials record screen via the three dots at the end of each record you can perform additional actions:

- View related records: Access related records associated with the burial.
- Generate Notice: Generate a notice document - see Notices
- Create an inspection report: Generate an inspection report for the burial - see Inspections
- Add an additional record for a Burial, exclusive or Memorial - Create an additional record for the same plot number - see adding an additional record
- Send to Accounts - Create an invoice for the record - see Invoicing
- Edit or delete the record: Make changes or delete the burial record if needed.
0 of 0 found this article helpful.