Last edited:
Scribe Navigation for Internal Auditors
This short video explains how to log on and navigate around Scribe. Alternatively scroll down for the text version of the helpguide.
Logging on to Scribe
The council you are auditing should provide your log in details for read only access to Scribe. If you already have an account with Scribe please ask the council to request that we add their account to your existing login.
Go to www.scribeaccounts.com and click Sign In. You will be provided with the following screen:
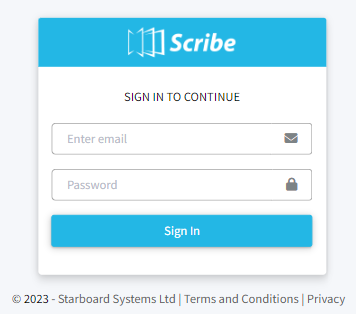
Enter your email address and then your password (provided by the council you are auditing if this is your first log in) and click Sign In.
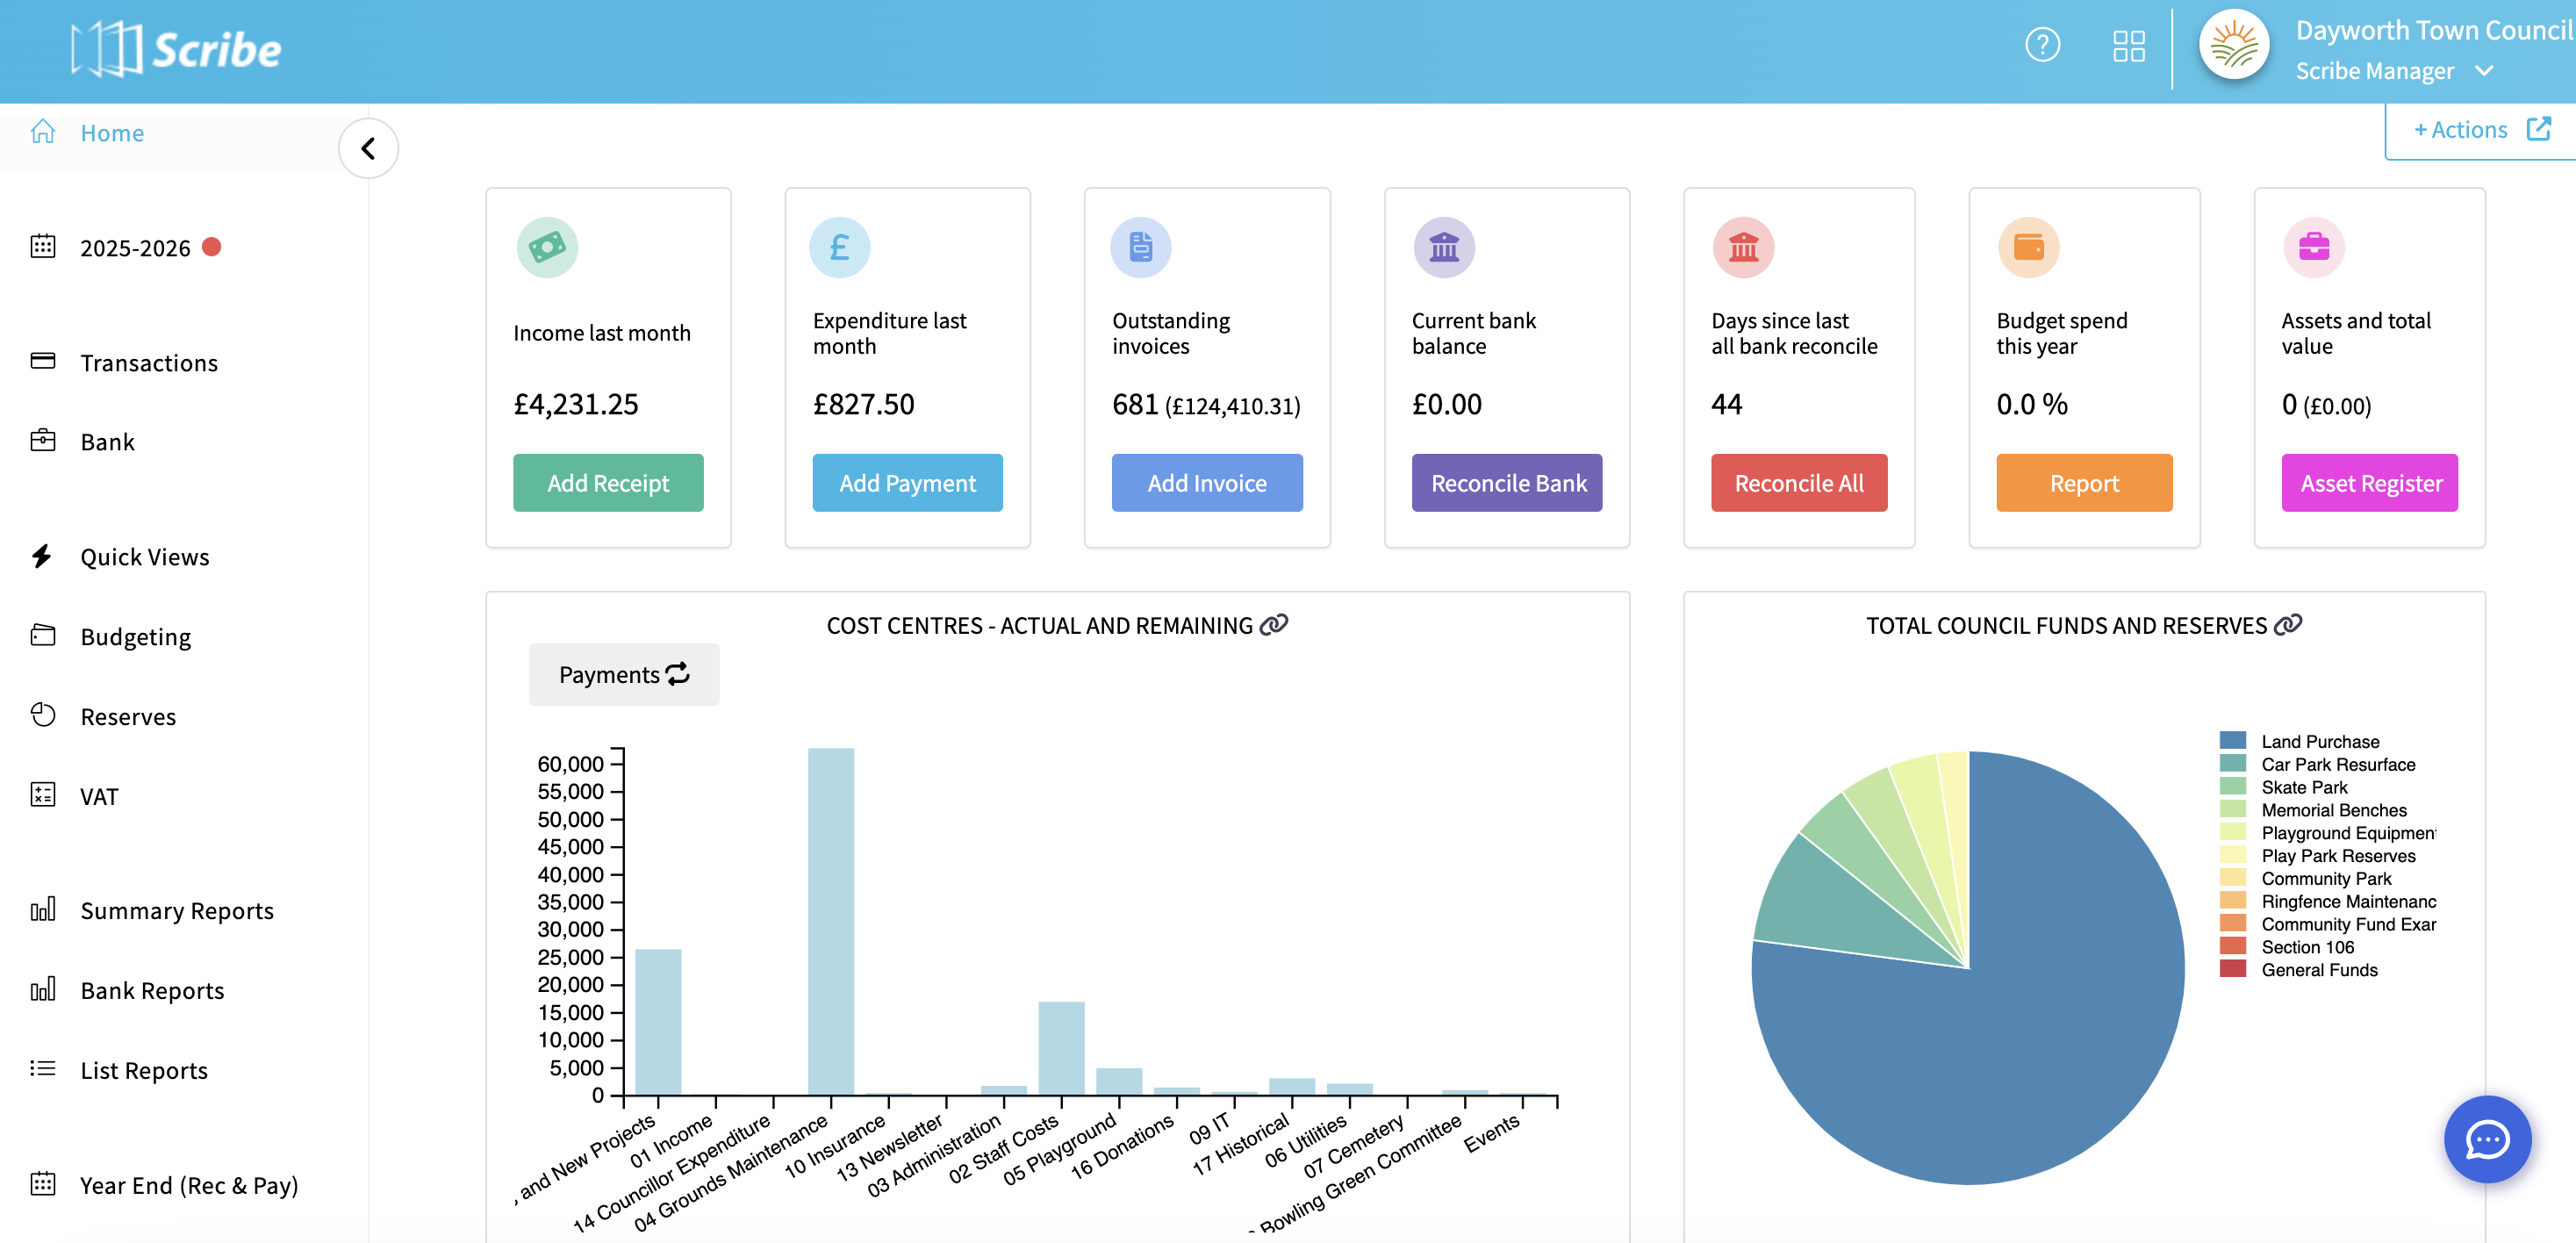
The Scribe home screen will be displayed. The council and financial year you are logged in to will show in the top right corner of the menu along with the menu options appearing as a list:
Changing your Password
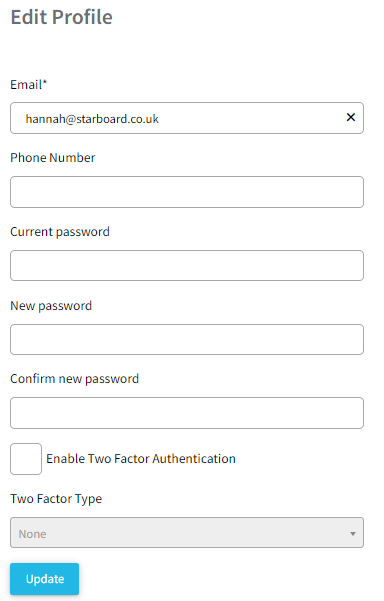
If this is your first log in then we recommend you change your password. To do navigate to menu Account → Edit Profile. Here you can enter your existing password and then enter the new one and confirm it. Your password must contain a capital letter, a number and a special character. Here you can also opt to use two-factor authentication.
Moving Between Council Accounts
If you are auditing more than one council that uses Scribe you will be able to access them all from your Scribe login. To move between councils, select your profile in the top right corner and 'Switch Council'.
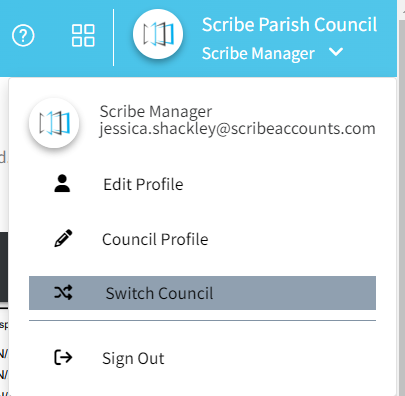
You will then be presented with a screen where you can select the council from the drop down list and click View.
Navigating the Menu
All menu options are found on the left side of the screen. Click a menu heading to expand it to show the menu options below. Clicking one of these options will load the relevant page.
You can also move between financial year via the menu, by simply select the year you wish to view.

Viewing Transaction Details
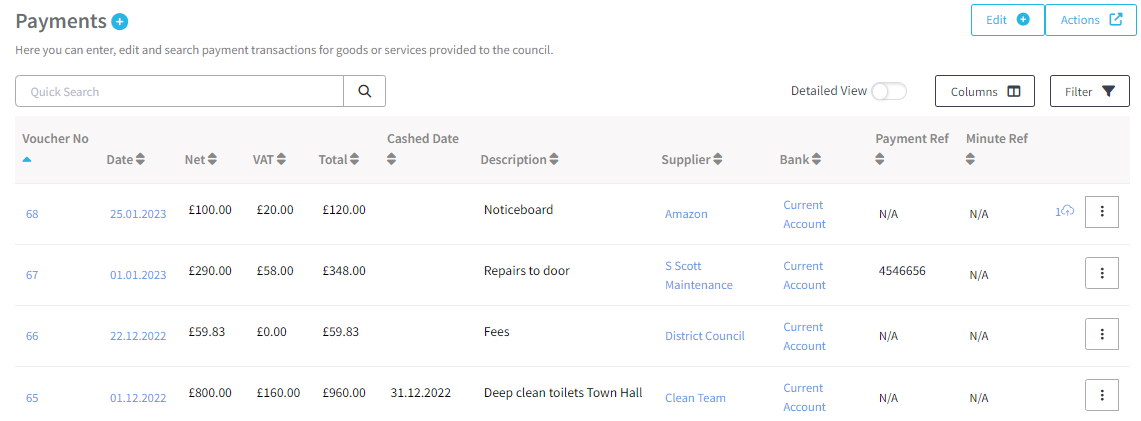
Details of the payments, receipts, sales invoices and purchase orders entered on Scribe can all be found within the Transactions menu option. Click the relevant option to view the list of transactions.
The transactions will be listed in order, with the most recent appearing at the top. The following functions are available:
- Click a column heading to sort by this option.
- Type a simple query (e.g. single word or amount) into the Quick Search field and then click the magnifying glass to return matching results. Once you have finished click the red cross to remove the search.
- Use the Filter to filter in a more advanced way. Select the items you wish to filter on, enter the criteria and click Search and Filter. Once you have finished with the filter click into the Filter and click Clear Filter.
- Click to turn on Detailed View to display details of individual rows within each transaction.
- Click the blue date or three little dots and then Edit to view the entry screen of the transaction. No amendments will be allowed and attempting to Save will give an error screen. Transactions with attached files are denoted by this icon -
 and can be viewed from the entry screen (just click the link under Attached Files).
Running Reports
To run a report click the relevant menu option and then click View Report. Once created the report can be printed, downloaded or shared. More details can be found here:
Printing, Downloading or Emailing Reports
Many reports have advanced filter options available by clicking Advanced (above the View Report button). The available filters vary from each report but most include date and code filters. More details on what the reports show and how they can be filtered can be found in the specific report help guide.
Some of the most commonly used reports are:
▶️ Summary Report - Budget vs Actuals report
▶️ VAT Summary - VAT closing position
▶️ Reserves Balance - Reserves and their current balances
▶️ Detailed Cost Centre - Transactional information per cost code
▶️ Transactions - List of transactions with multiple filter options available
0 of 0 found this article helpful.