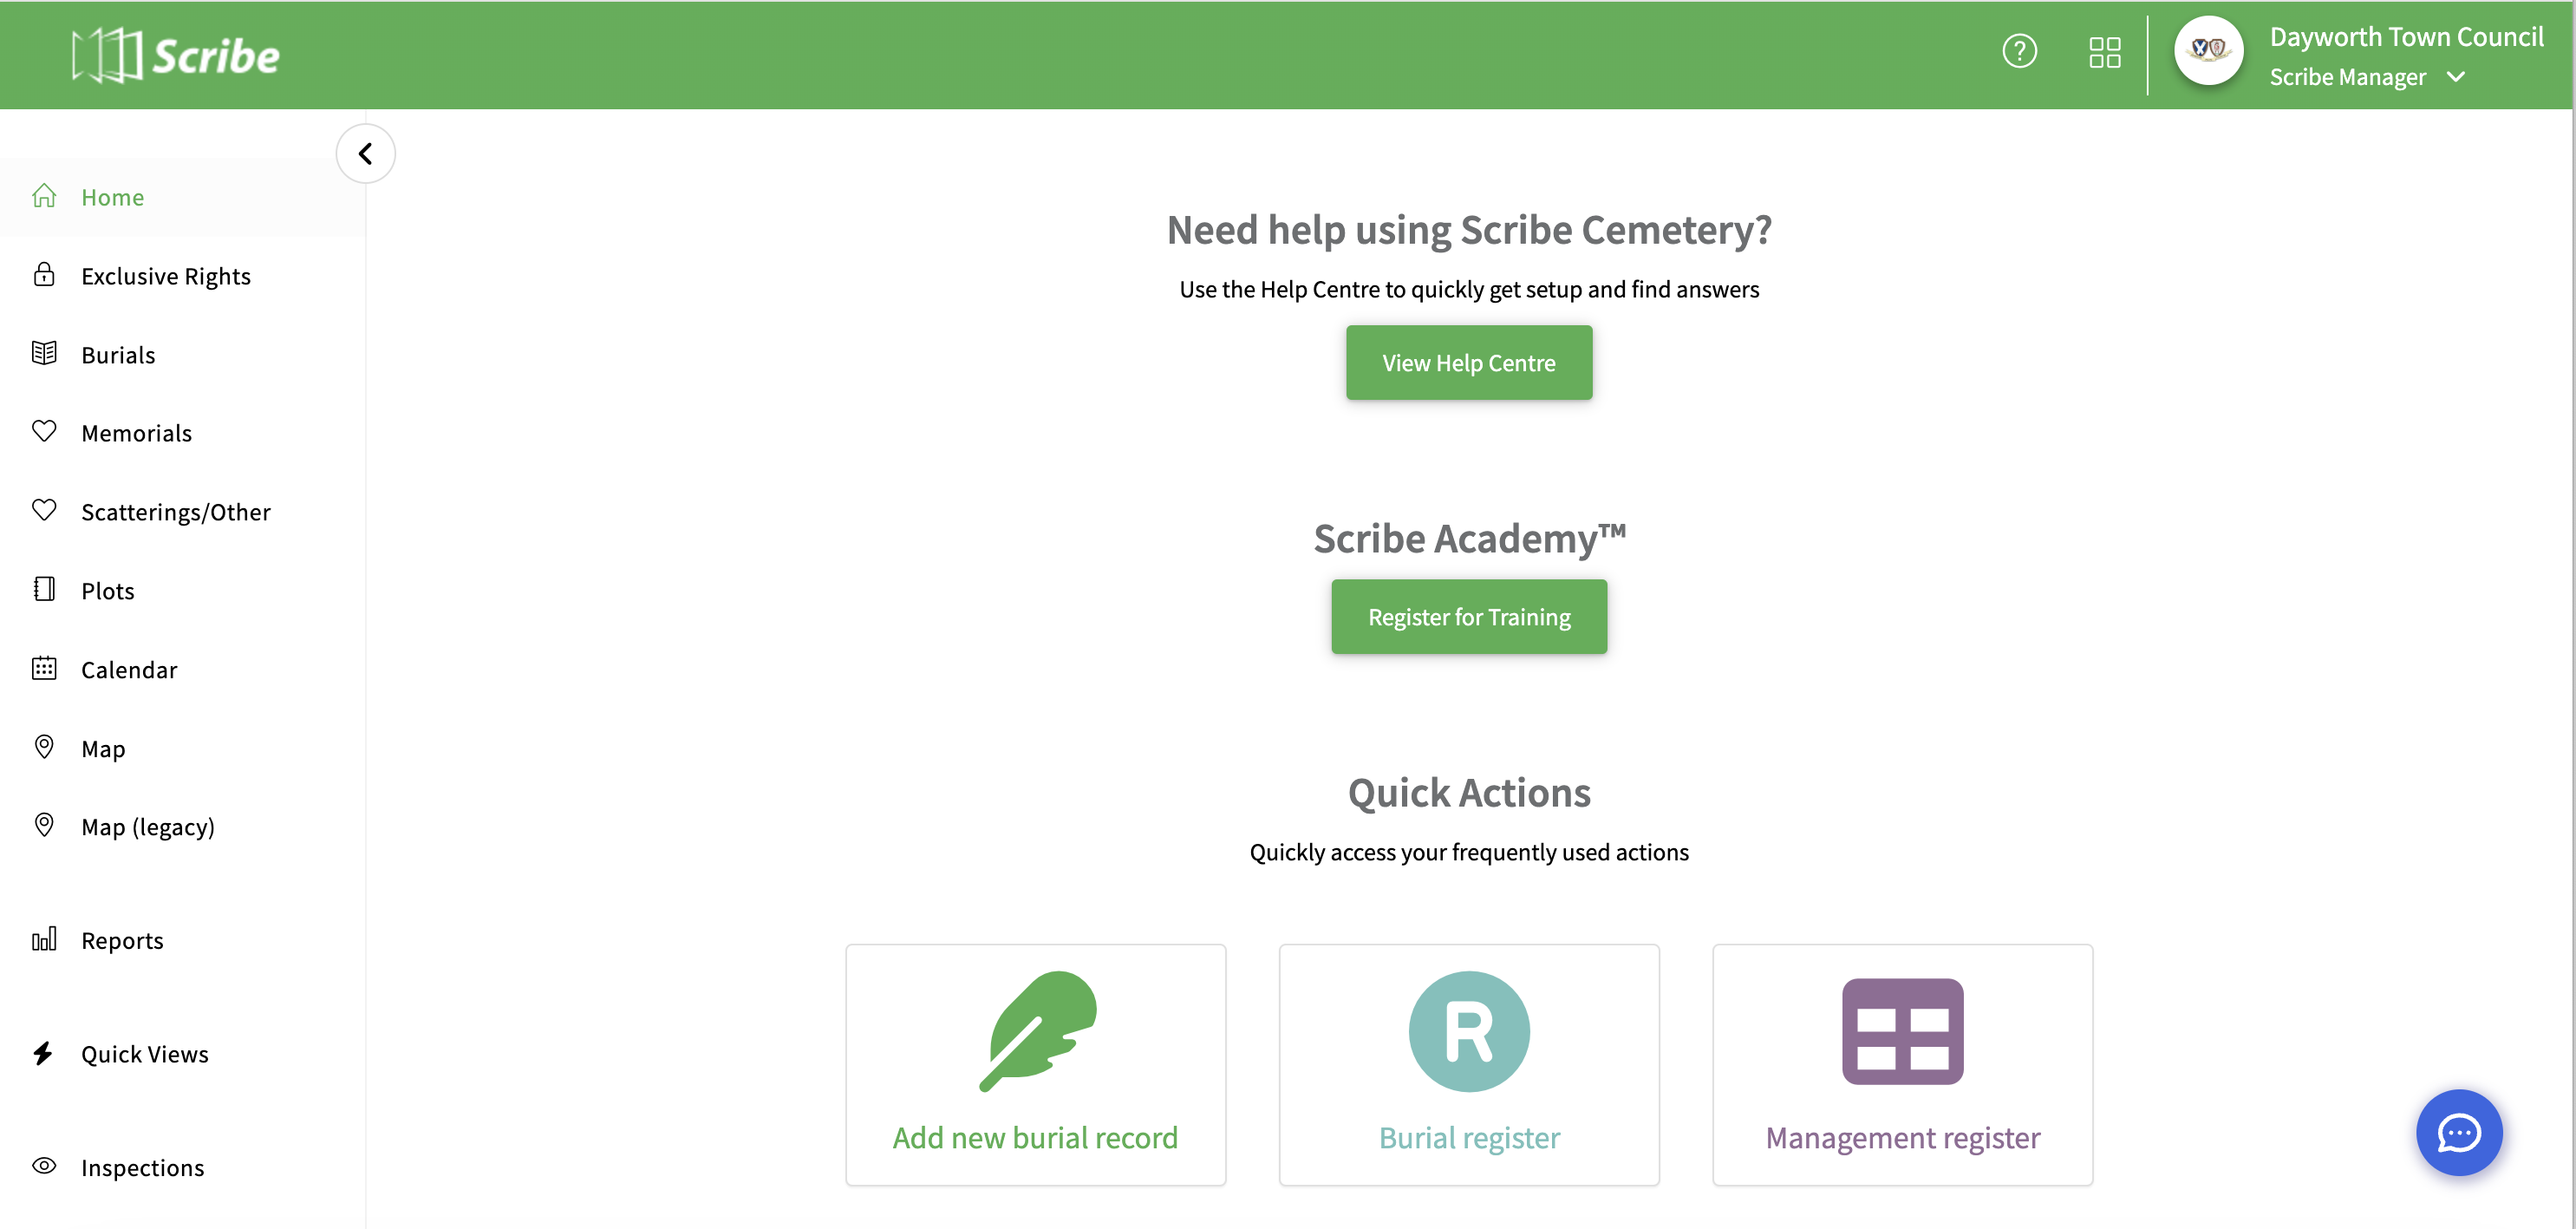
Scribe Cemetery Home Screen
Download our step-by-step Cemetery Success Checklist to make sure you've covered the initial set up and are ready to start entering records!
Success Checklist - Scribe Cemetery
Upon successful setup by the Scribe team, the first sight greeting you when you log in will be the Scribe Cemetery Home Screen.

Setting Up Master Records
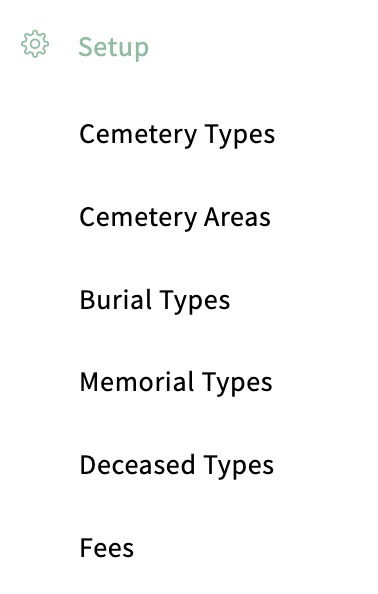
Firstly you will need to set up your master records under 'Set up'
Before you start using Cemetery you need to add entries in Cemetery Types, Cemetery Areas, Burial Types, Memorial Types, Deceased Types and Fees.
Click in the relevant menu option and the 'Add' button at the top right of the screen

- Cemetery types The types of Cemetery you manage e.g Closed Churchyard or Lawn Cemetery
- Cemetery areas The specific areas within your Cemetery Types e.g Garden of Remembrance (short name Garden) and Burials –North side (short name Burials). You will also need to add in the total capacity for each area. Within the cemetery area screen you can also mark out the area for your map - click here for further information.
- Burial types Details of types of burial within your Cemetery e.g Burial, Cremated Remains
- Memorial types Details of types of Memorials within your Cemetery e.g Headstone or Flat Tablet
- Deceased type These are created automatically for you.
- Fees We will cover the Fee table separately here.
Once you have populated these sections with your specific details, you have all the required fields ready for adding any new cemetery records.
Did you find this article helpful?
1 of 2 found this article helpful.
1 of 2 found this article helpful.
Can't find what you're looking for?Log a ticket