In this guide, we will teach you the basic navigation of Scribe Cemetery including how to move between products, contact support and navigate the menu.
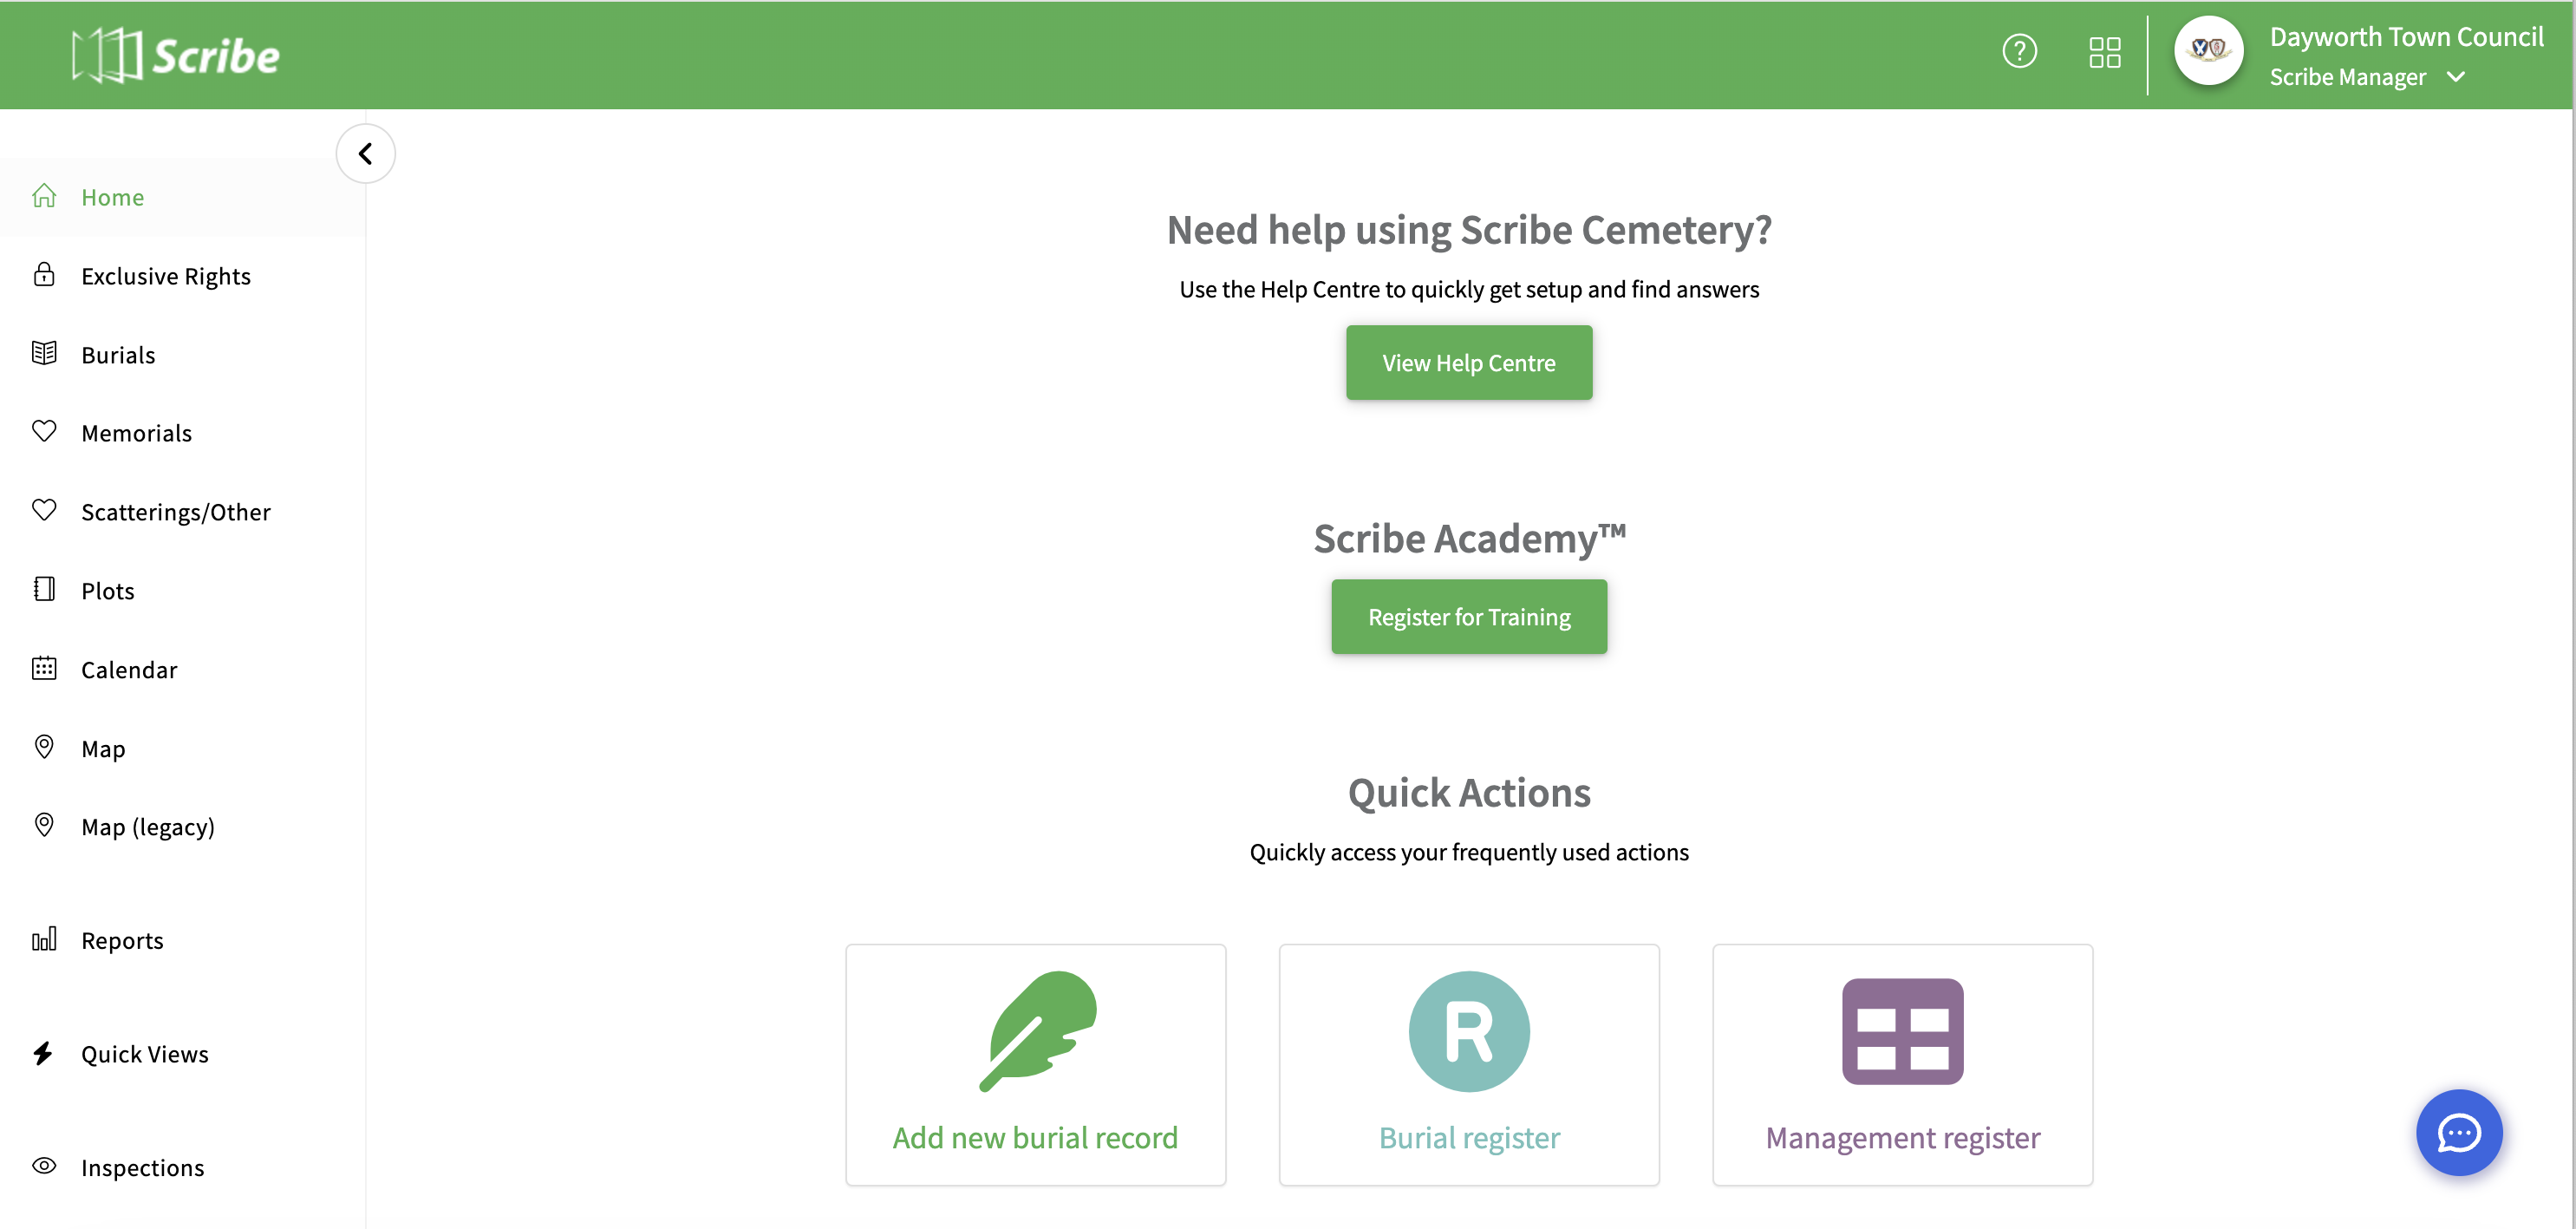
Once logged into Scribe, you will be presented with the home screen. We do recommend using Google Chrome as Scribe is optimised for this.

You will see a button for the Scribe help centre in the middle of the screen where you can access all of the useful help guides (like this one!).
A button is also available to visit Scribe Academy where you are able to register for any of our training sessions.
The support icon in the bottom right corner can be used to submit any questions directly to the support team.
The Quick Action buttons are the things we find most frequently used within Scribe Cemetery. These options are all available in the centre of the screen and it’s a quick way for you to access these functions. For example, if you’ve just logged in and want to add a record, you can do so straight away from your home screen by selecting the relevant button.
*Initially these icons will be different and relate to your setup (i.e. Add Cemetery Types and Areas) but once this is done it will then default to the regular quick actions*
At the top right of the screen there is a drop down menu which can be expanded by clicking on the arrow under your Council Name

From this menu you can edit your profile, amend your council profile and switch between councils if you have access to more than one.
You also have the option to sign out of Scribe from this menu.
In the main header bar there are also options to visit Scribe Academy, access the help guides and switch between Scribe products - simply click on the relevant icon.