What is Council Settings within Scribe
The Council Settings function allows you to customer sales invoices and purchase orders with a Council logo and footer text.
How do I Create a Council Setting in Scribe
Navigate to menu Account → Council Settings.
Click on the blue "+" icon or select Edit/Add Record and you will be presented with the following screen to customise your invoices and purchase orders.
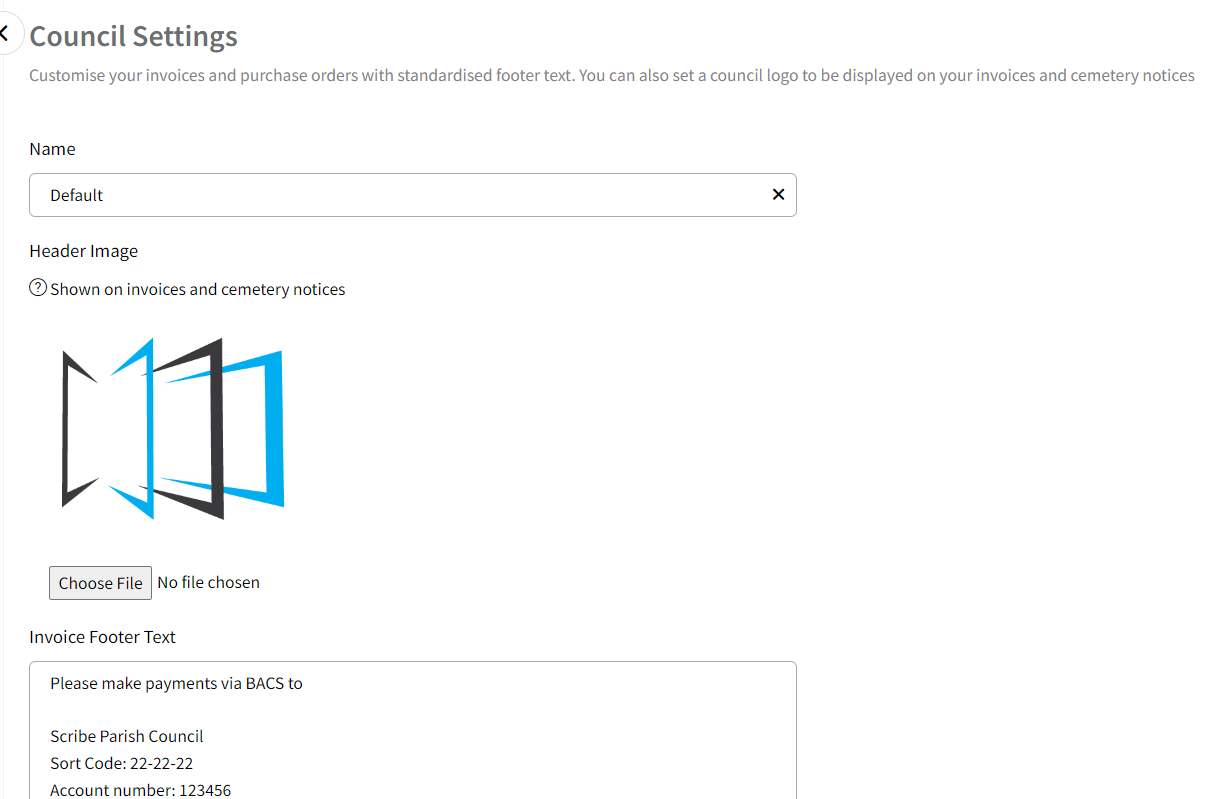
- To add your logo, click on Choose File and select the file containing your logo from your device. This will upload and display your logo in the top right corner of each invoice/purchase order.
- In the Footer Text field, enter the text you want to appear at the bottom of each invoice/purchase order. This can include additional information such as bank details and payment terms or any other relevant information.
- Once you have uploaded your logo and entered the footer text, click on Save to apply the changes.
- If you want to create additional templates with different footer text variations, repeat the process by clicking on the blue "+" icon or selecting Edit/Add Record again.
By following these steps, you can customise your invoices and purchase orders by adding your logo and including footer text with relevant information. This allows you to personalise and tailor your templates according to your council's branding and requirements.
Did you find this article helpful?
1 of 7 found this article helpful.
1 of 7 found this article helpful.
Can't find what you're looking for?Log a ticket